In an age where home security is more accessible and affordable than ever, outdoor security cameras have become a crucial part of protecting your property. However, simply buying a good camera isn’t enough—proper installation and strategic placement are what truly make your security system effective. Whether you’re trying to deter package thieves, monitor your driveway, or just feel safer at home, installing your cameras with maximum coverage in mind will give you peace of mind and valuable evidence when you need it.
This guide walks you through the essential steps and considerations for installing outdoor security cameras to get the best coverage, avoid blind spots, and comply with privacy laws. It’s designed for homeowners looking for a DIY solution or guidance before calling in a professional.
Why Outdoor Camera Placement Matters
When it comes to securing your home, where you place your outdoor cameras is just as important as the type of camera you use. A poorly placed camera could miss key activity or give you unusable footage, defeating its entire purpose. For maximum coverage, your cameras should focus on high-risk areas while minimizing obstructions like trees, sun glare, or walls.
The goal is to cover key zones such as:
- Entry doors (front, back, and side entrances)
- Garage doors and driveways
- Ground-floor windows
- Backyard and fence lines
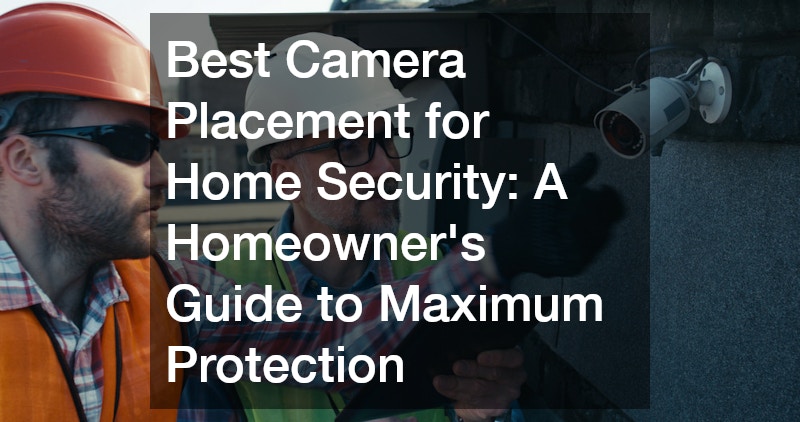
Placing cameras strategically improves visibility and increases the chances of catching suspicious activity before it becomes a problem. This approach ties directly to the principle of best camera placement for home security, which prioritizes effectiveness, deterrence, and coverage.
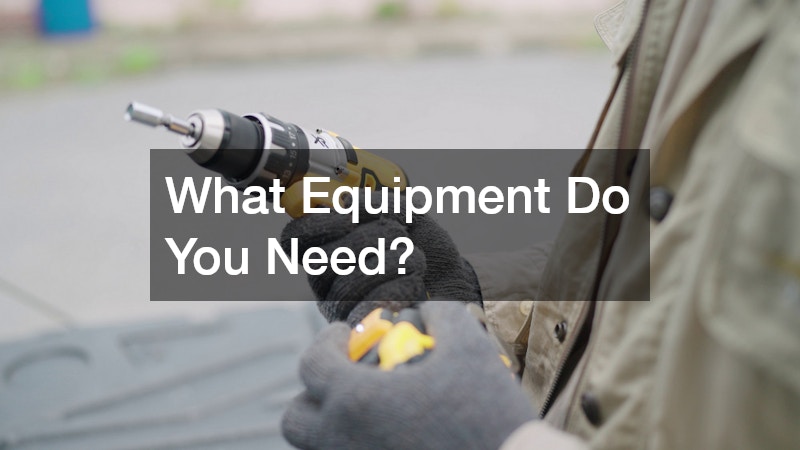
What Equipment Do You Need?

Before you start the installation process, gather everything you need to ensure a smooth and safe setup. Here’s a quick list:
Tools and Supplies:
- Power drill with appropriate bits
- Screws and wall anchors
- Mounting brackets (usually included)
- Weatherproof security cameras
- Extension cords (if required)
- Ladder
- Smartphone or laptop for configuration
Optional:
- Wi-Fi extender (if the signal is weak outdoors)
- Cable management clips or conduits
- Surge protector (for wired cameras)
If you’re using wired cameras, you’ll also need long video and power cables, or possibly a network cable if you’re using Power over Ethernet (PoE).
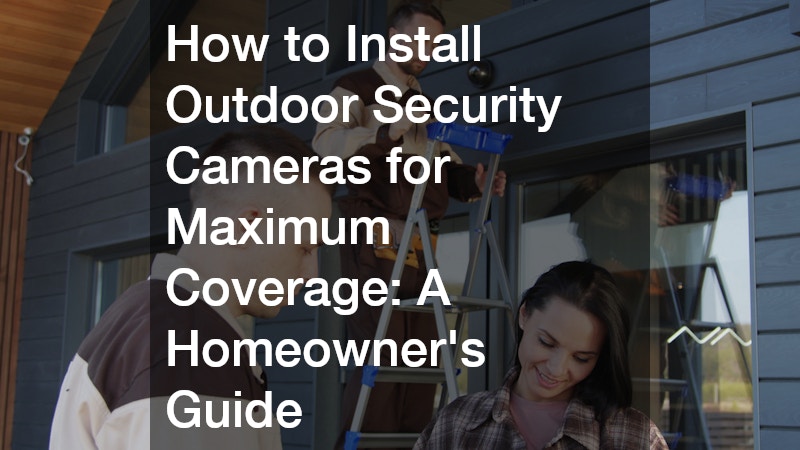
How to Install Outdoor Security Cameras for Maximum Coverage
To ensure you’re covering every angle of your property, follow this structured installation process.
1. Plan Your Camera Coverage Zones
Before drilling any holes, map out your home’s exterior. Walk around the property and identify:
- Vulnerable access points (doors, windows, garages)
- Blind spots or areas hidden from view
- Dark spots that need lighting
Sketch a layout or use your camera’s app (if it has one) to visualize camera angles and overlap zones to avoid gaps in coverage.
2. Test Camera Viewpoints Before Installation
Temporarily mount the camera with tape or zip ties to test the viewing angle. Use the live view feature to:
- Adjust the tilt and rotation
- Ensure the view isn’t blocked by gutters or trees
- Avoid direct sunlight that may cause glare
This testing phase can prevent mistakes and help you optimize camera height—8 to 10 feet is usually ideal for preventing tampering while still capturing facial details.
3. Install and Secure the Mounting Hardware
Once satisfied with the camera angle:
- Mark the drill points
- Pre-drill holes
- Insert wall anchors if needed
- Attach the mounting bracket securely
- Mount the camera and tighten all screws
Ensure that all parts are weather-sealed, especially with wired setups where water can damage exposed connectors.
4. Connect and Configure the System
For wireless cameras, connect them to your home Wi-Fi and configure settings like motion zones, alert preferences, and cloud storage. For wired setups, connect to your DVR or NVR unit and power source.
Adjust detection zones and sensitivity settings to reduce false alerts from pets or trees swaying in the wind.
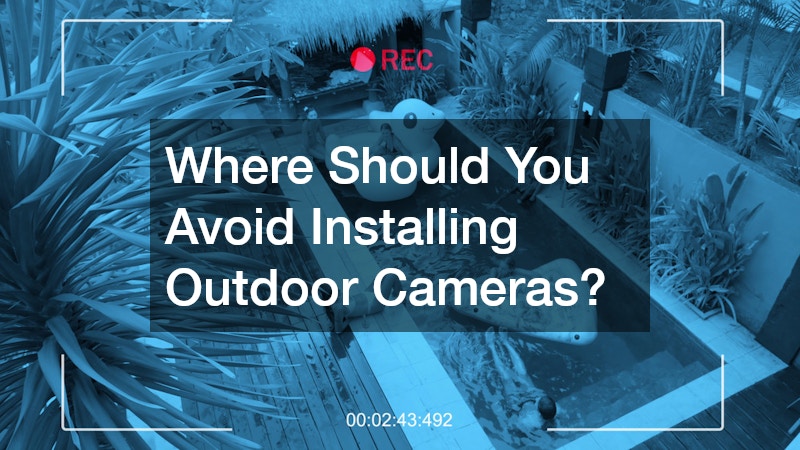
Where Should You Avoid Installing Outdoor Cameras?

Not every location is ideal for camera placement. Avoid:
- Pointing directly into your neighbor’s property, as it could violate privacy laws.
- Placing cameras too low, making them easy to steal or disable.
- Mounting under eaves without a clear view, which may create blind spots.
- Facing bright light sources like the sun or streetlights, which could wash out footage.
Instead, use angled positions that cover entrances or pathways while maintaining privacy and clear footage.
Final Tips for Maximizing Outdoor Camera Coverage
Here are some final tips to ensure your outdoor security cameras offer reliable and comprehensive protection:
- Pair cameras with motion-activated floodlights for better nighttime visibility.
- Use overlapping fields of view to prevent blind spots.
- Secure the camera wiring or go wireless to minimize tampering.
- Regularly clean lenses and check for spider webs or dirt.
- Update your camera firmware to patch vulnerabilities and access new features.
With careful planning and thoughtful installation, you can significantly boost your home’s security and peace of mind.


